January 23, 2021
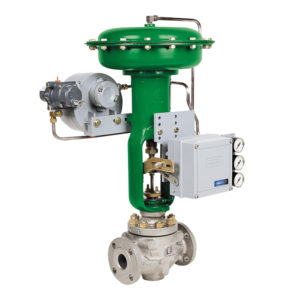
If you’re new to Foxboro’s 43AP pneumatic controllers, you might have some questions about installation, operation, and maintenance. In this quick guide, we’ll lay out the simple steps to get your instrument calibrated and one step closer to operation.
The tools you’ll need for calibration are:
- Air supply with pressure regulator
- Pressure gauge
- Small Phillips head screwdriver
- Object with a right angle, like a square ruler
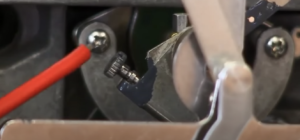
Pointer alignment
- Determine the pressure range of your instrument.
- Find what is 50%, or the midpoint, of your pressure range.
- To find this value, calculate the average of the two numbers in your pressure range. For example, if your pressure range is 3-15 PSI:
- Add the two numbers: 3 + 15 = 18
- Divide the total by 2: 18 ÷ 2 = 9
- The midpoint between 3 and 15 is 9
- To find this value, calculate the average of the two numbers in your pressure range. For example, if your pressure range is 3-15 PSI:
- Use your air supply to input the value you found in step #2 into the instrument. Using the example above, you’d input 9 PSI.
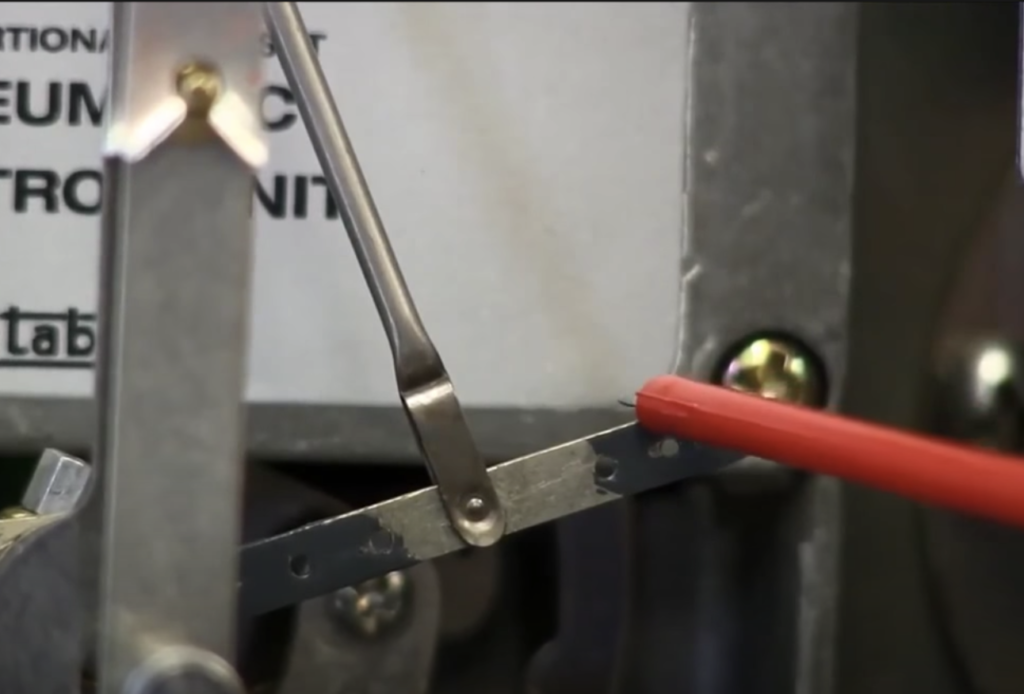
- Ensure the connection between your link and linkage form a right angle. If you need to make adjustments, you can slightly loosen the nut on the linkage to allow for movement.
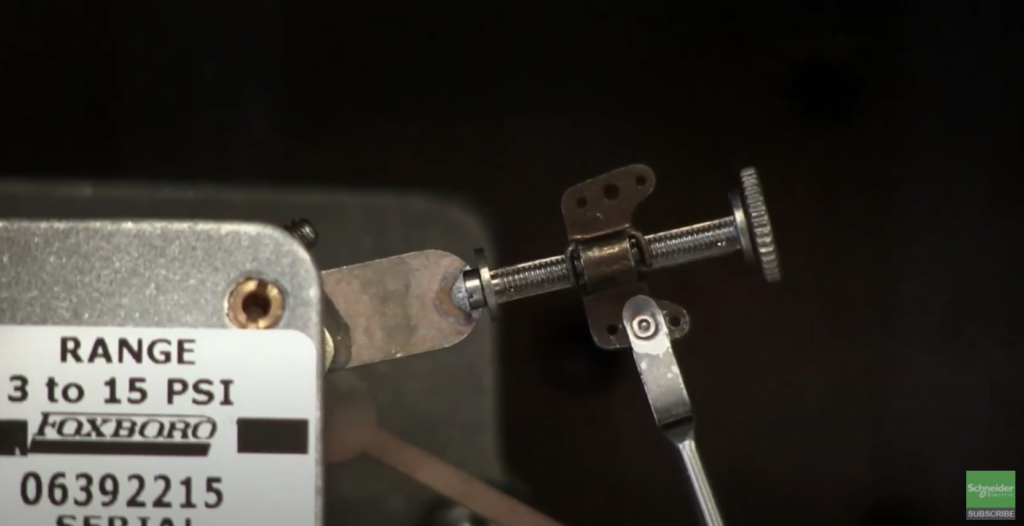
- Ensure the connection between the driven lever and pointer element form a right angle. If you need to make adjustments to form a right angle, adjust the linkage on your spring.
 .
. 
- Once you’ve established right angles on all of the elements in steps #4 and #5, tighten everything up.
- Alignment has been established.
Calibrate the pointer
- Use your air supply to input the amount of PSI that’s at the lowest end of your pressure range. If your pressure range is 3-15 PSI, input 3 PSI.
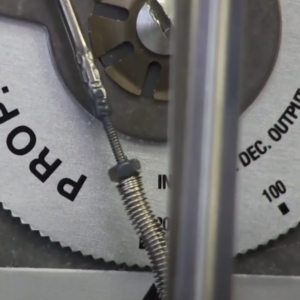
- Check the pointer to make sure it’s reading at 0%. If the pointer doesn’t read 0%, adjust the thumb screw that’s connected to the driven lever until the pointer reads 0%.
- Up the pressure to the amount of PSI that’s at the highest end of your pressure range. If your pressure range is 3-15 PSI, input 15 PSI.
- Check the pointer to make sure it’s reading at 100%. If the pointer doesn’t read 100%, adjust the thumb screw that’s connected to the driver lever until the pointer reads 100%.
- If you made adjustments in steps #10 and/or #11, repeat those steps until the pointer reads accurately at the lowest and highest PSI ranges.
- Input the value you found in step #2 into the pressure gauge.
- Check the pointer to make sure it reads at 50%. If the pointer doesn’t read at 50%, adjust the linkage on your spring .
- Repeat steps 8-15 until your pointer reads at 0%, 50%, and 100% correctly.
You can see the whole process in this video from Schneider Electric: Foxboro Technical Training – Calibrating the 43AP Pneumatic Indicator Controller
If you need more assistance with calibrating your Foxboro 43AP, reach out to our technicians at (800) 325-4808.