Two Cent Tech Tip: Mounting a DVC6200
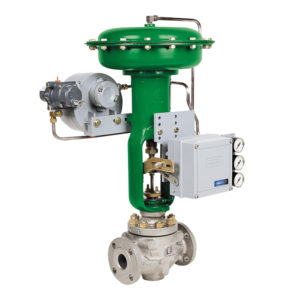
Hi, my name is Joe Coppola, Calibrations Manager at Automation Service. In this Two Cent Tech Tip, I am going to walk you through the steps to mount a DVC6200. For this demonstration, we will be using a remanufactured Fisher® 657 control valve and a remanufactured Fisher® DVC6200.
The first step in the process is attaching the mounting bracket to the yoke of the actuator. Then you will loosely attach the feedback pieces, including the magnet assembly, to the valve stem. Don’t over tighten them, as some fine adjustment will be necessary later in the mounting process.
In the next step, use the alignment template, supplied with your mounting kit, to position your magnet assembly. The style of actuator you are using will determine how you should align the magnet assembly.
- For an air to open actuator, line the magnet up so the center line of the template is aligned as close as possible with the upper extreme of the valid travel range.
- For an air to close actuator, align the center line template as closely as possible with the lower extreme of the valid travel range.
Next, tighten the fasteners and remove the alignment template. Finally, mount the DVC to the mounting bracket using the mounting bolts, and adjust for proper clearance between the magnet assembly and the 6200 back slot.
That’s my two cents! If you have any questions or need additional assistance mounting your DVC6200, give us a call at 800-325-4808