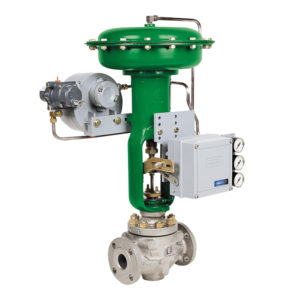
Troubleshooting a DVC in a Digital Control System
If you have a DVC that isn’t working correctly, one of the easiest things you should check for is the control mode.
Control Mode lets you define how your instrument receives its set point. By default, when you set up a DVC it goes into an analog mode. If your DVC is going to receive its set point over the 4-20 milliamp loop, you can leave the instrument in analog mode. But if you have a digital control system, also known as a DCS, you must configure the DVC for a digital control mode.
- First turn on your communicator and open the HART application.
- Then, click Setup Communication. Next, select Online, and wait until the HART connects to the DVC.
- Once it has established a connection, click Setup & Diagnostics; then click Detailed Setup.
- Navigate to the Instrument Mode menu.
- Select Out of Service, and then follow the prompts on the Communicator display to choose Digital.
You may notice that there is also a Test Mode option in the menu. If your DVC is in Test Mode you will experience problems with the instrument. However, the DVC may go into a test mode if you have a power failure, or if you abort from the calibration procedure. When you are troubleshooting your DVC, always check to make sure it is not in Test Mode. To take the instrument out of the Test mode, select Control Mode then select either Analog or Digital.
If you have any questions about control mode or need help troubleshooting your DVC, please give us a call at 800-325-4808. And don’t forget to check back on our website and social media channels for future videos!

